Scheduled reports

Scheduled reports

Send reports on a periodic basis to your users, at a frequency chosen by them.
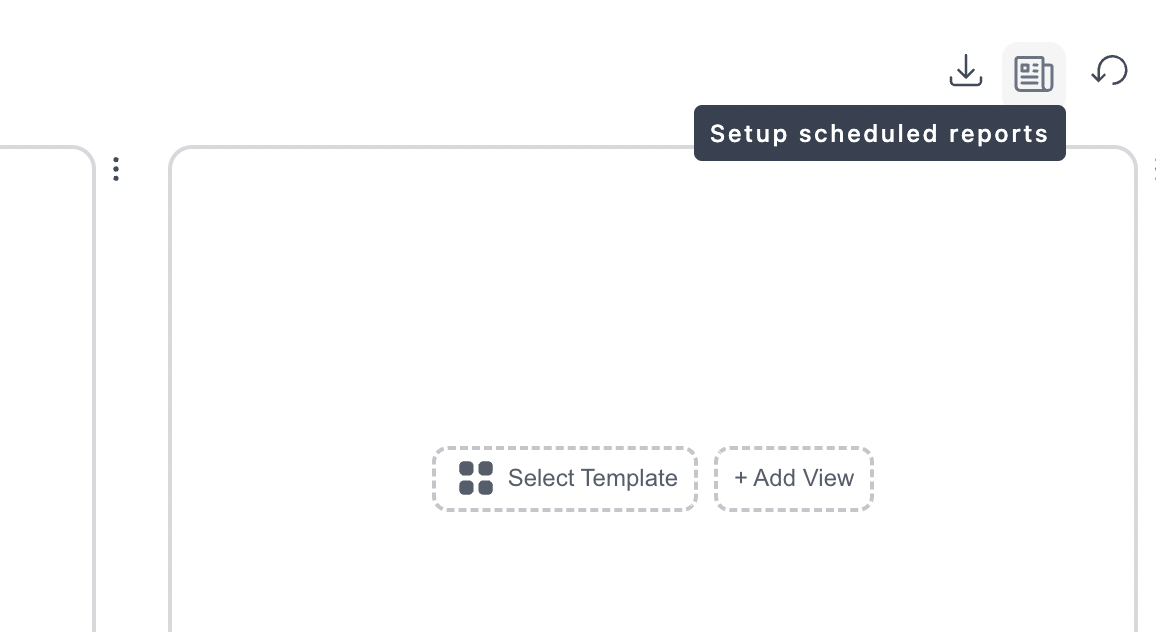
To generate a report, your users will create a "basic table" component on their dashboard, and then selecting the "reports" option in the component menu.

Vizzly manages the scheduling of the reports that will contain all the information required to generate the report your user has asked for.

Once you have set up the webhook and linked it to the parent dashboard, you can add the property reportScheduleOptions to the Vizzly Dashboard component.

which would allow your users to pick from an "every minute", or an "every hour" schedule.

The webhook event

This is an example of how you'd process scheduled report events.

You will need the following NodeJs packages;

  • @vizzly/webhook
  • @vizzly/auth

Where the version of the @vizzly/webhook package matches the same version you are using for the frontend (@vizzly/dashboard).

 
import { createReportResults } from '@vizzly/webhook';
import { verifyWebhookPayload, createSigner } from '@vizzly/auth';
 
// Vizzly's public key that you will use to verify webhook requests.
// This is different from the public key you have generated for the self-hosted implementation.
// This public key is owned by Vizzly.
const VIZZLY_WEBHOOK_PUBLIC_KEY = `-----BEGIN PUBLIC KEY-----
MFkwEwYHKoZIzj0CAQYIKoZIzj0DAQcDQgAE9o+m/krXwNsirA5pixugPI8vvMSr
4Dmn0X00PCM9d72Gtc3WTJaibTL1M+gvT4TnrpwVR5y1/9VS6dS9qEF54A==
-----END PUBLIC KEY-----`;
 
export default async function handler(
  req,
  res
) {
  // Verify the webhook payload from Vizzly.
  const verified = await verifyWebhookPayload(req.body, VIZZLY_WEBHOOK_PUBLIC_KEY)
 
  // Set up the token signer for usage later.
  const vizzAuth = createSigner({
 
    // Your Vizzly private key. In this example, we load it from an environment variable.
    // https://docs.vizzly.co/identity/private-key-as-environment-variable
    privateKey: JSON.parse(process.env['VIZZLY_PRIVATE_KEY']).vizzly,
 
    // Set the expiry of this data access token to be short-lived.
    ttlInMinutes: 3,
  });
 
  // Sign the data access token, including the `secureFilters` for the user.
  // This is the same as generating the `dashboardAccessToken` for the `identity`
  // callback on your dashboard, so you will already have this logic in your codebase.
  const dataAccessToken = await vizzAuth.signDataAccessToken({
    dataSetIds: "*",
    secureFilters: {
 
      // Secure filters to make sure the user only has access to their
      // data.
      'data set id 1': [
        {
          field: 'user_id',
          op: '=',
          value: verified.event.userReference,
        }
      ]
    }
  });
 
  // Use the @vizzly/webhook package with the received event, to fetch results from your Vizzly Query Engine.
  const results = await createReportResults(verified.event, dataAccessToken, '<< YOUR QUERY ENGINE ENDPOINT >>', {})
 
  // Now do whatever you want with the results...
  // - Send an email
  // - Upload to an S3 bucket
  // - Generate a PDF report
  // ...
 
  // Reply with a 200 to acknowledge the webhook successfully.
  res.status(200).json({});
}