How to deploy Vizzly on GCP Cloud Run
This guide will take you through deploying the Vizzly Query Engine to the Google Cloud Run service. It assumes you have already;
- Created your Vizzly account and self-hosted project.
- Created your Google Cloud Platform (GCP) account.
- Installed and authenticated the Vizzly CLI.
- Have generated your
vizzly.envfile using the Vizzly CLI.
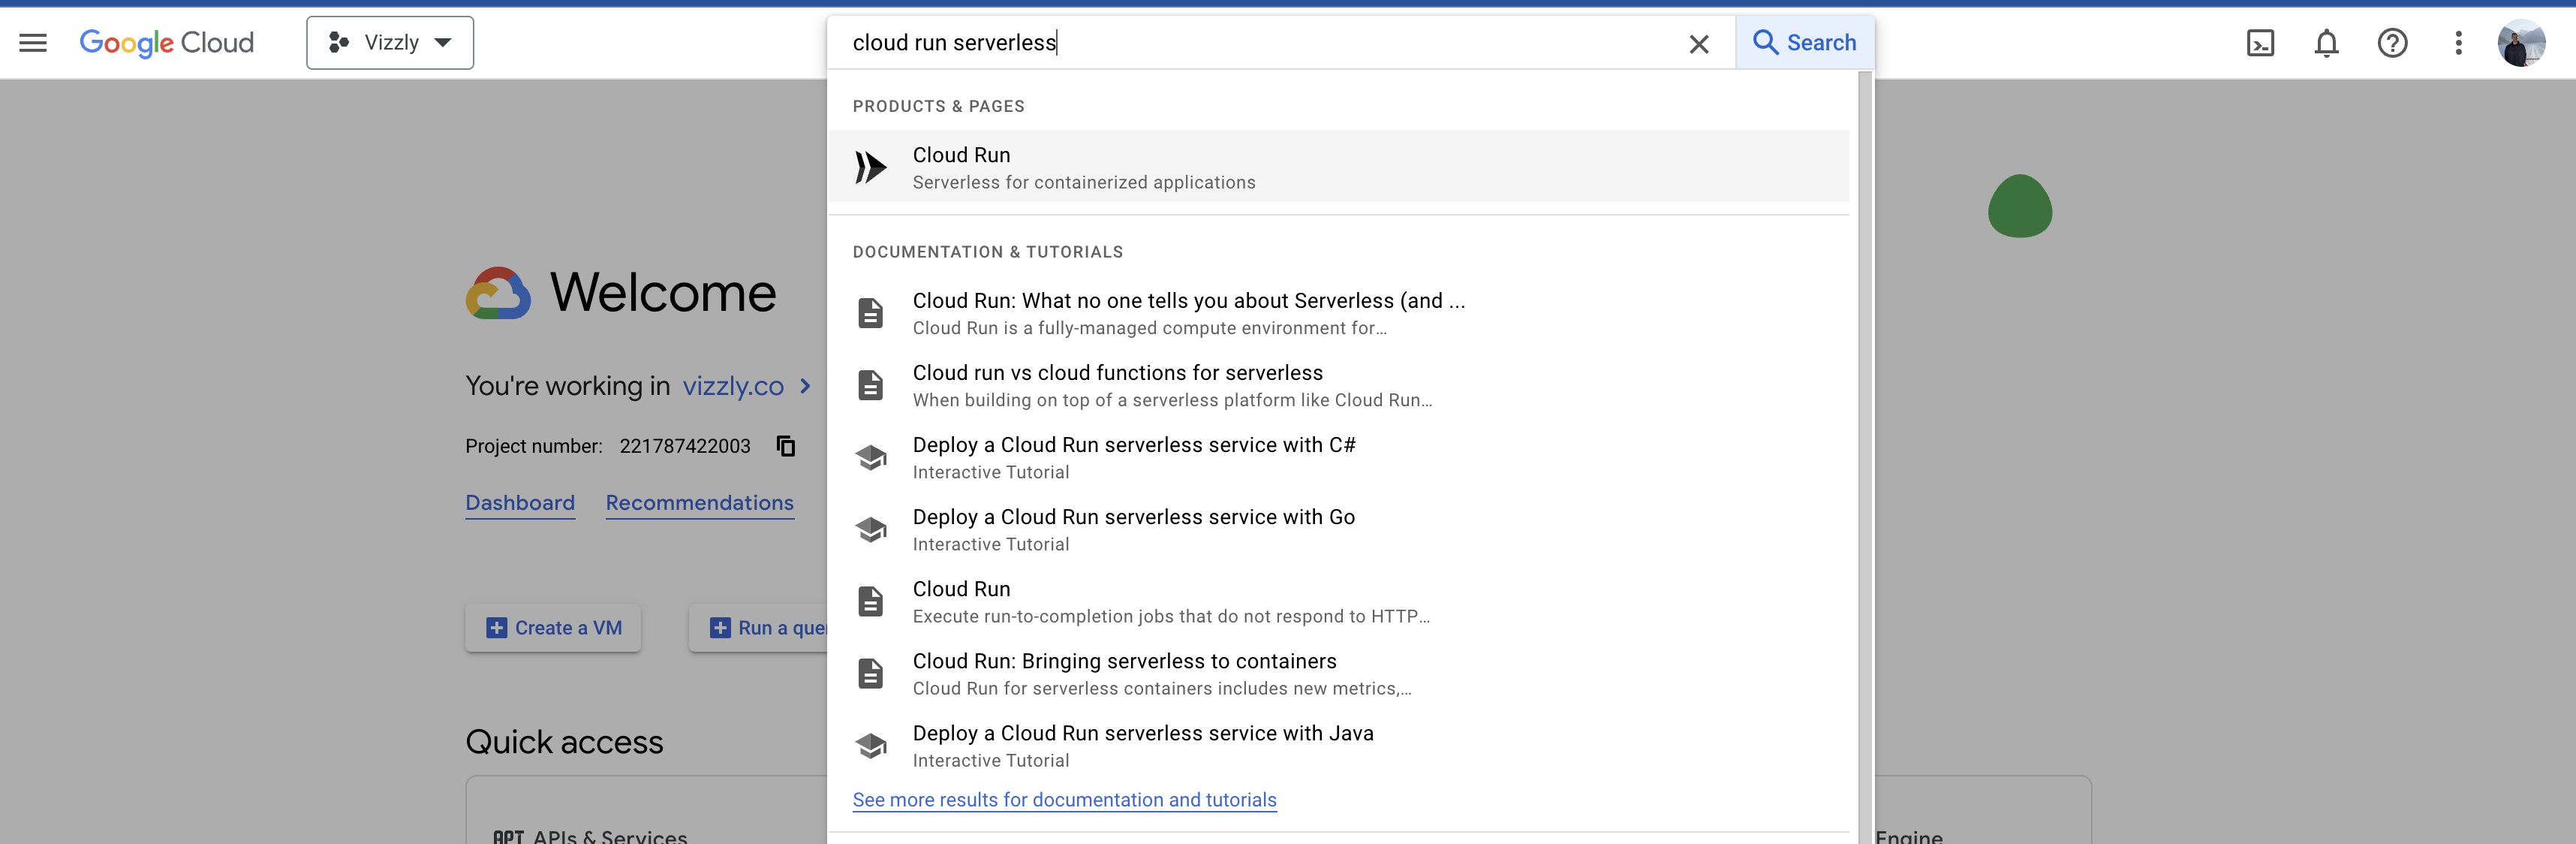
Open Cloud Run product on GCP
On your GCP account, search and open the "Cloud Run" product.
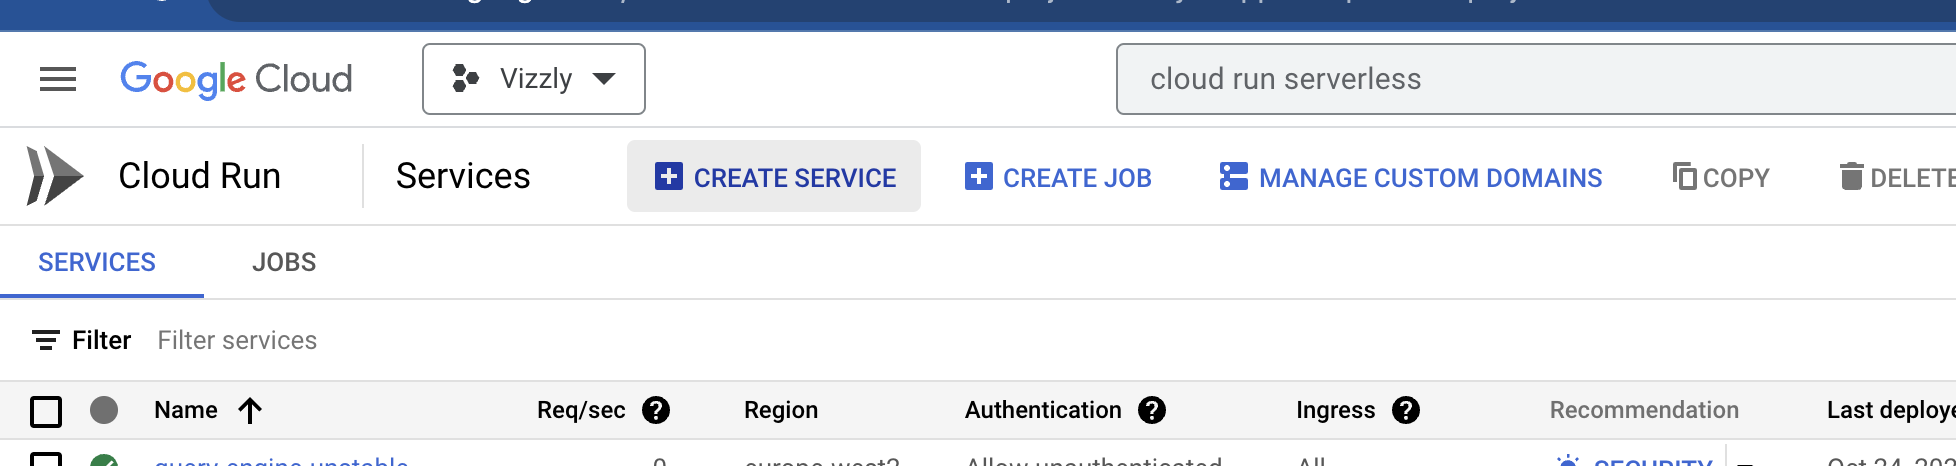
Create a new Cloud Run service
Click "Create service".
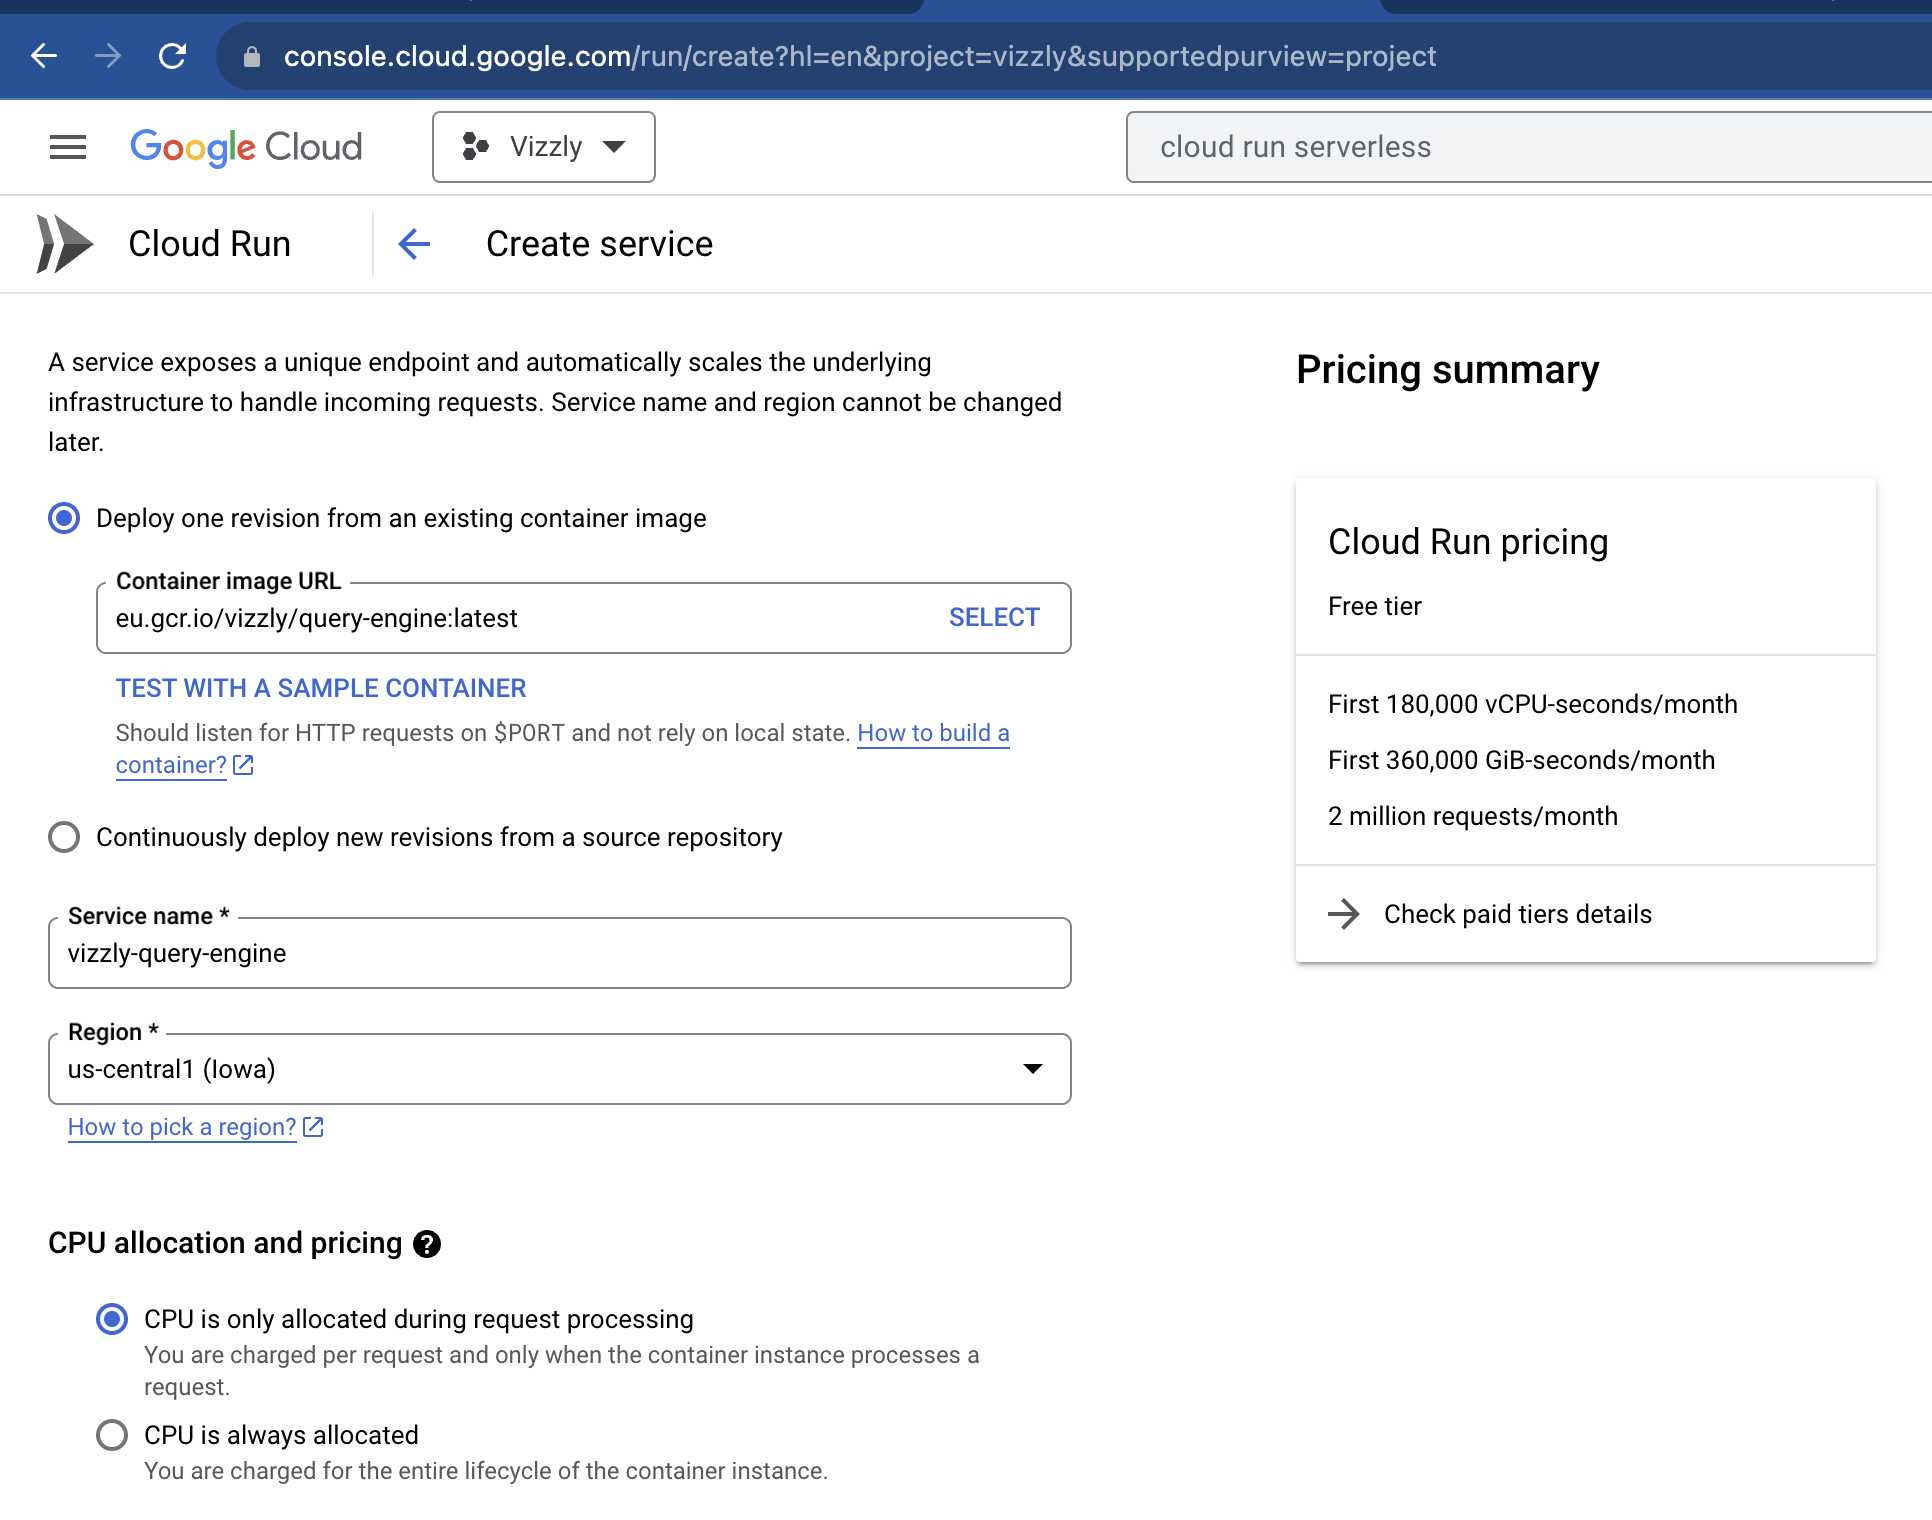
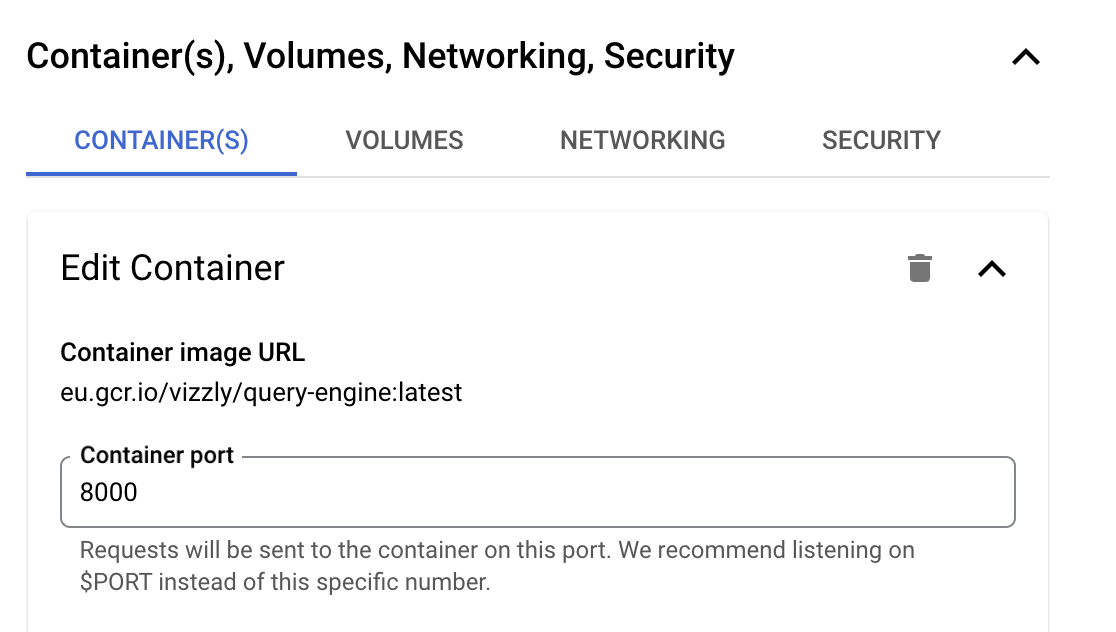
Docker image URI and deployment region
Set the "Docker image URI" of the Vizzly Query Engine. For this demo I will use eu.gcr.io/vizzly/query-engine:latest, but for production, we strongly recommend pinning to a specific version of the query engine.
Then, select the region that you want to deploy the Query Engine to!
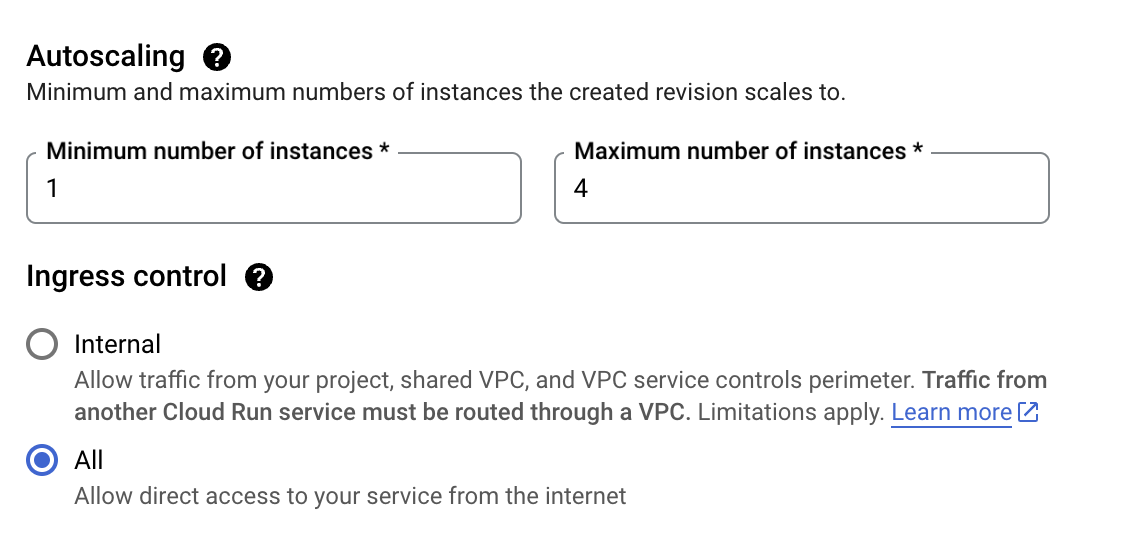
Autoscaling
In the autoscaling section, ensure there is always at least one instance of the Vizzly Query Engine by setting the minimum number to at least 1.
Adjust the maximum instances to a threshold that you are comfortable with given your traffic pattern.
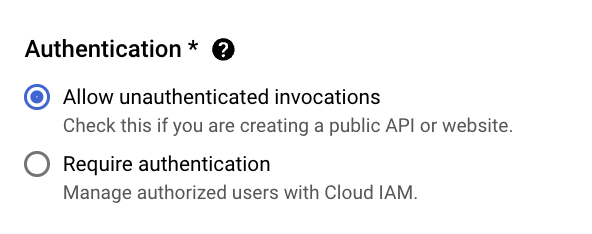
Authentication
We need to make the Cloud Run instance available over the internet, so select the "Allow unauthenticated invocations" option under the "Authentication" section.
This will not mean that anyone can access your data because the Vizzly Query Engine manages authentication on a request-by-request basis.
Set the container port
Set the container port to 8000
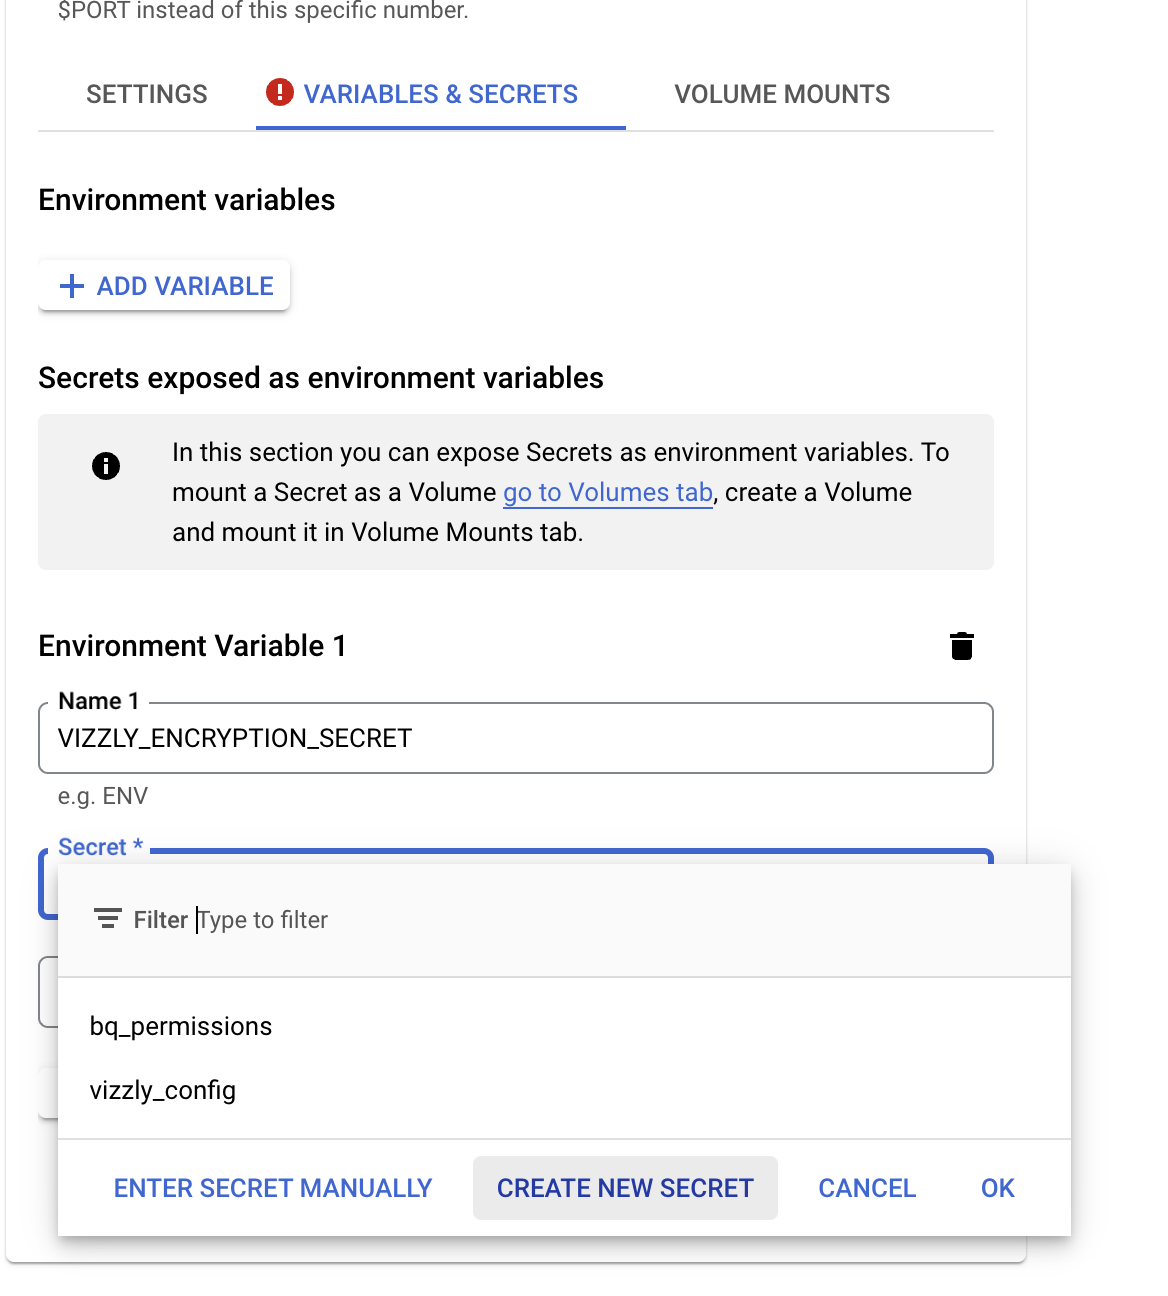
Add the environment variables
Use the "Variables & Secrets" section to add all the key-value pairs in your vizzly.env file to the Cloud Run instance.
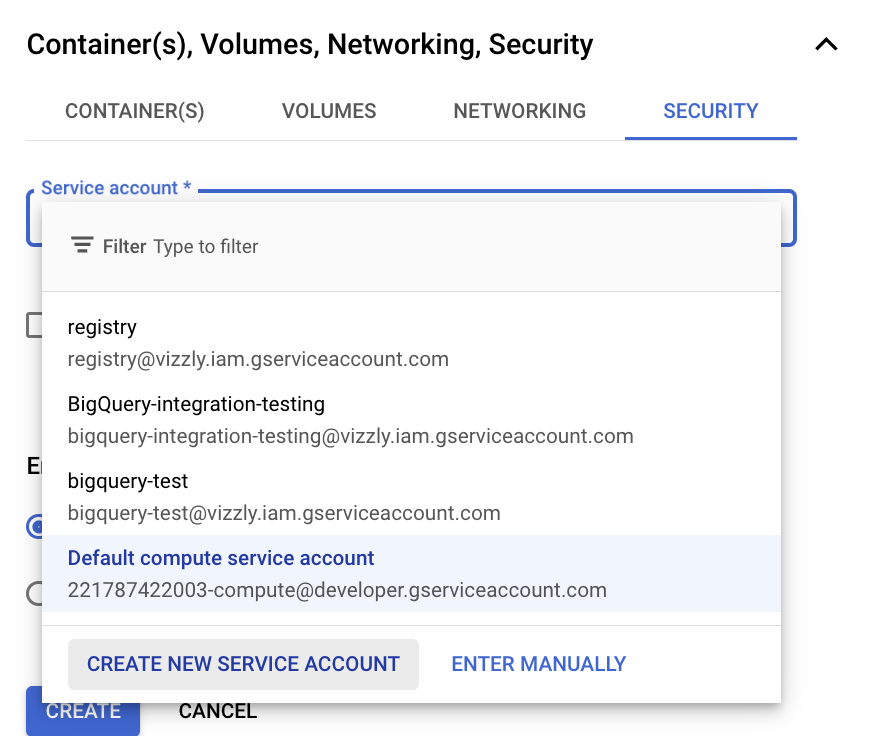
Service account role
Now we have created our secrets, we need to grant the Cloud Run instance a role that allows it to access them.
First, click "Create new service account" under the security tab.
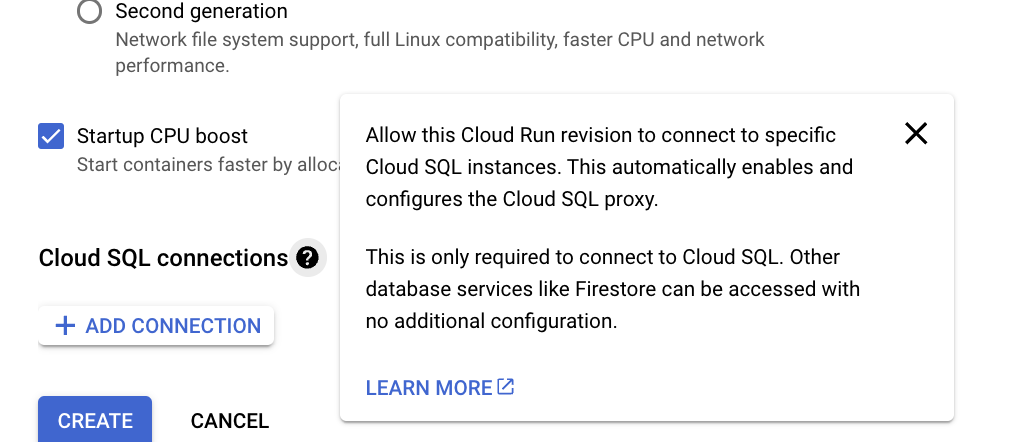
Cloud SQL Connection (Optional)
If you are using Cloud SQL, you will need to allow access by completing the "Cloud SQL Connections" section.
Create!
When ready, click the "Create" button at the bottom of the page.
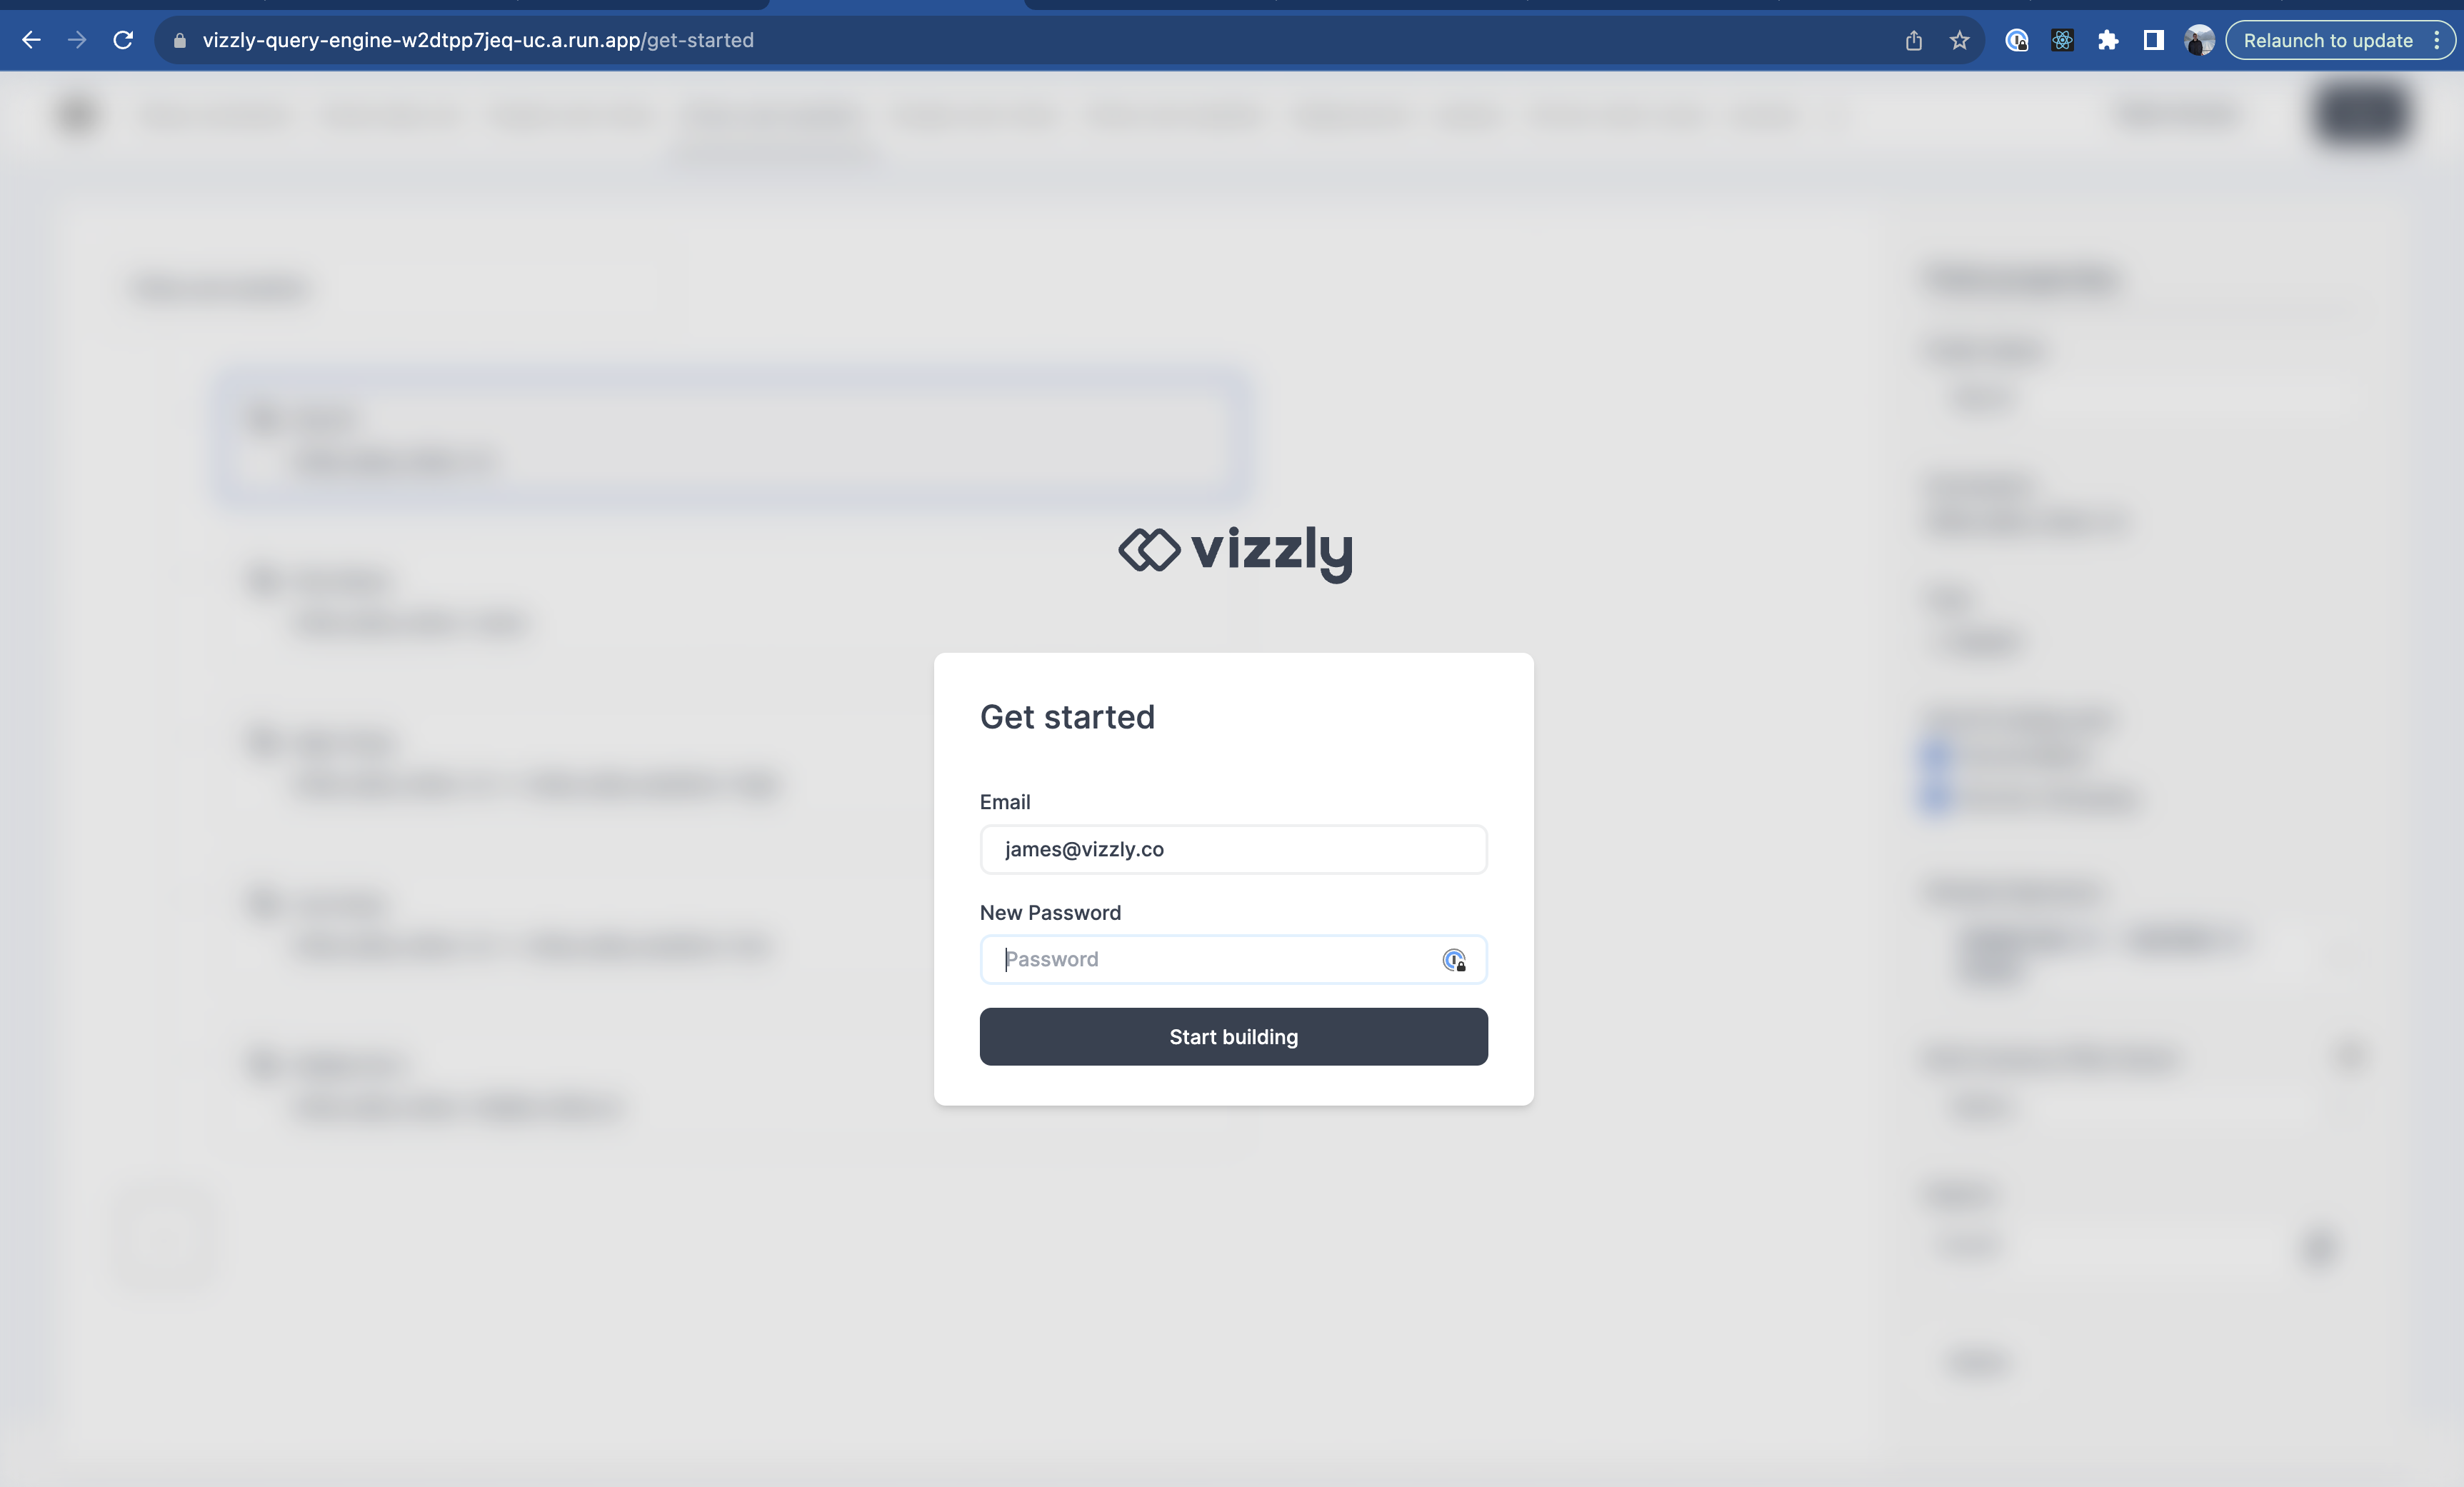
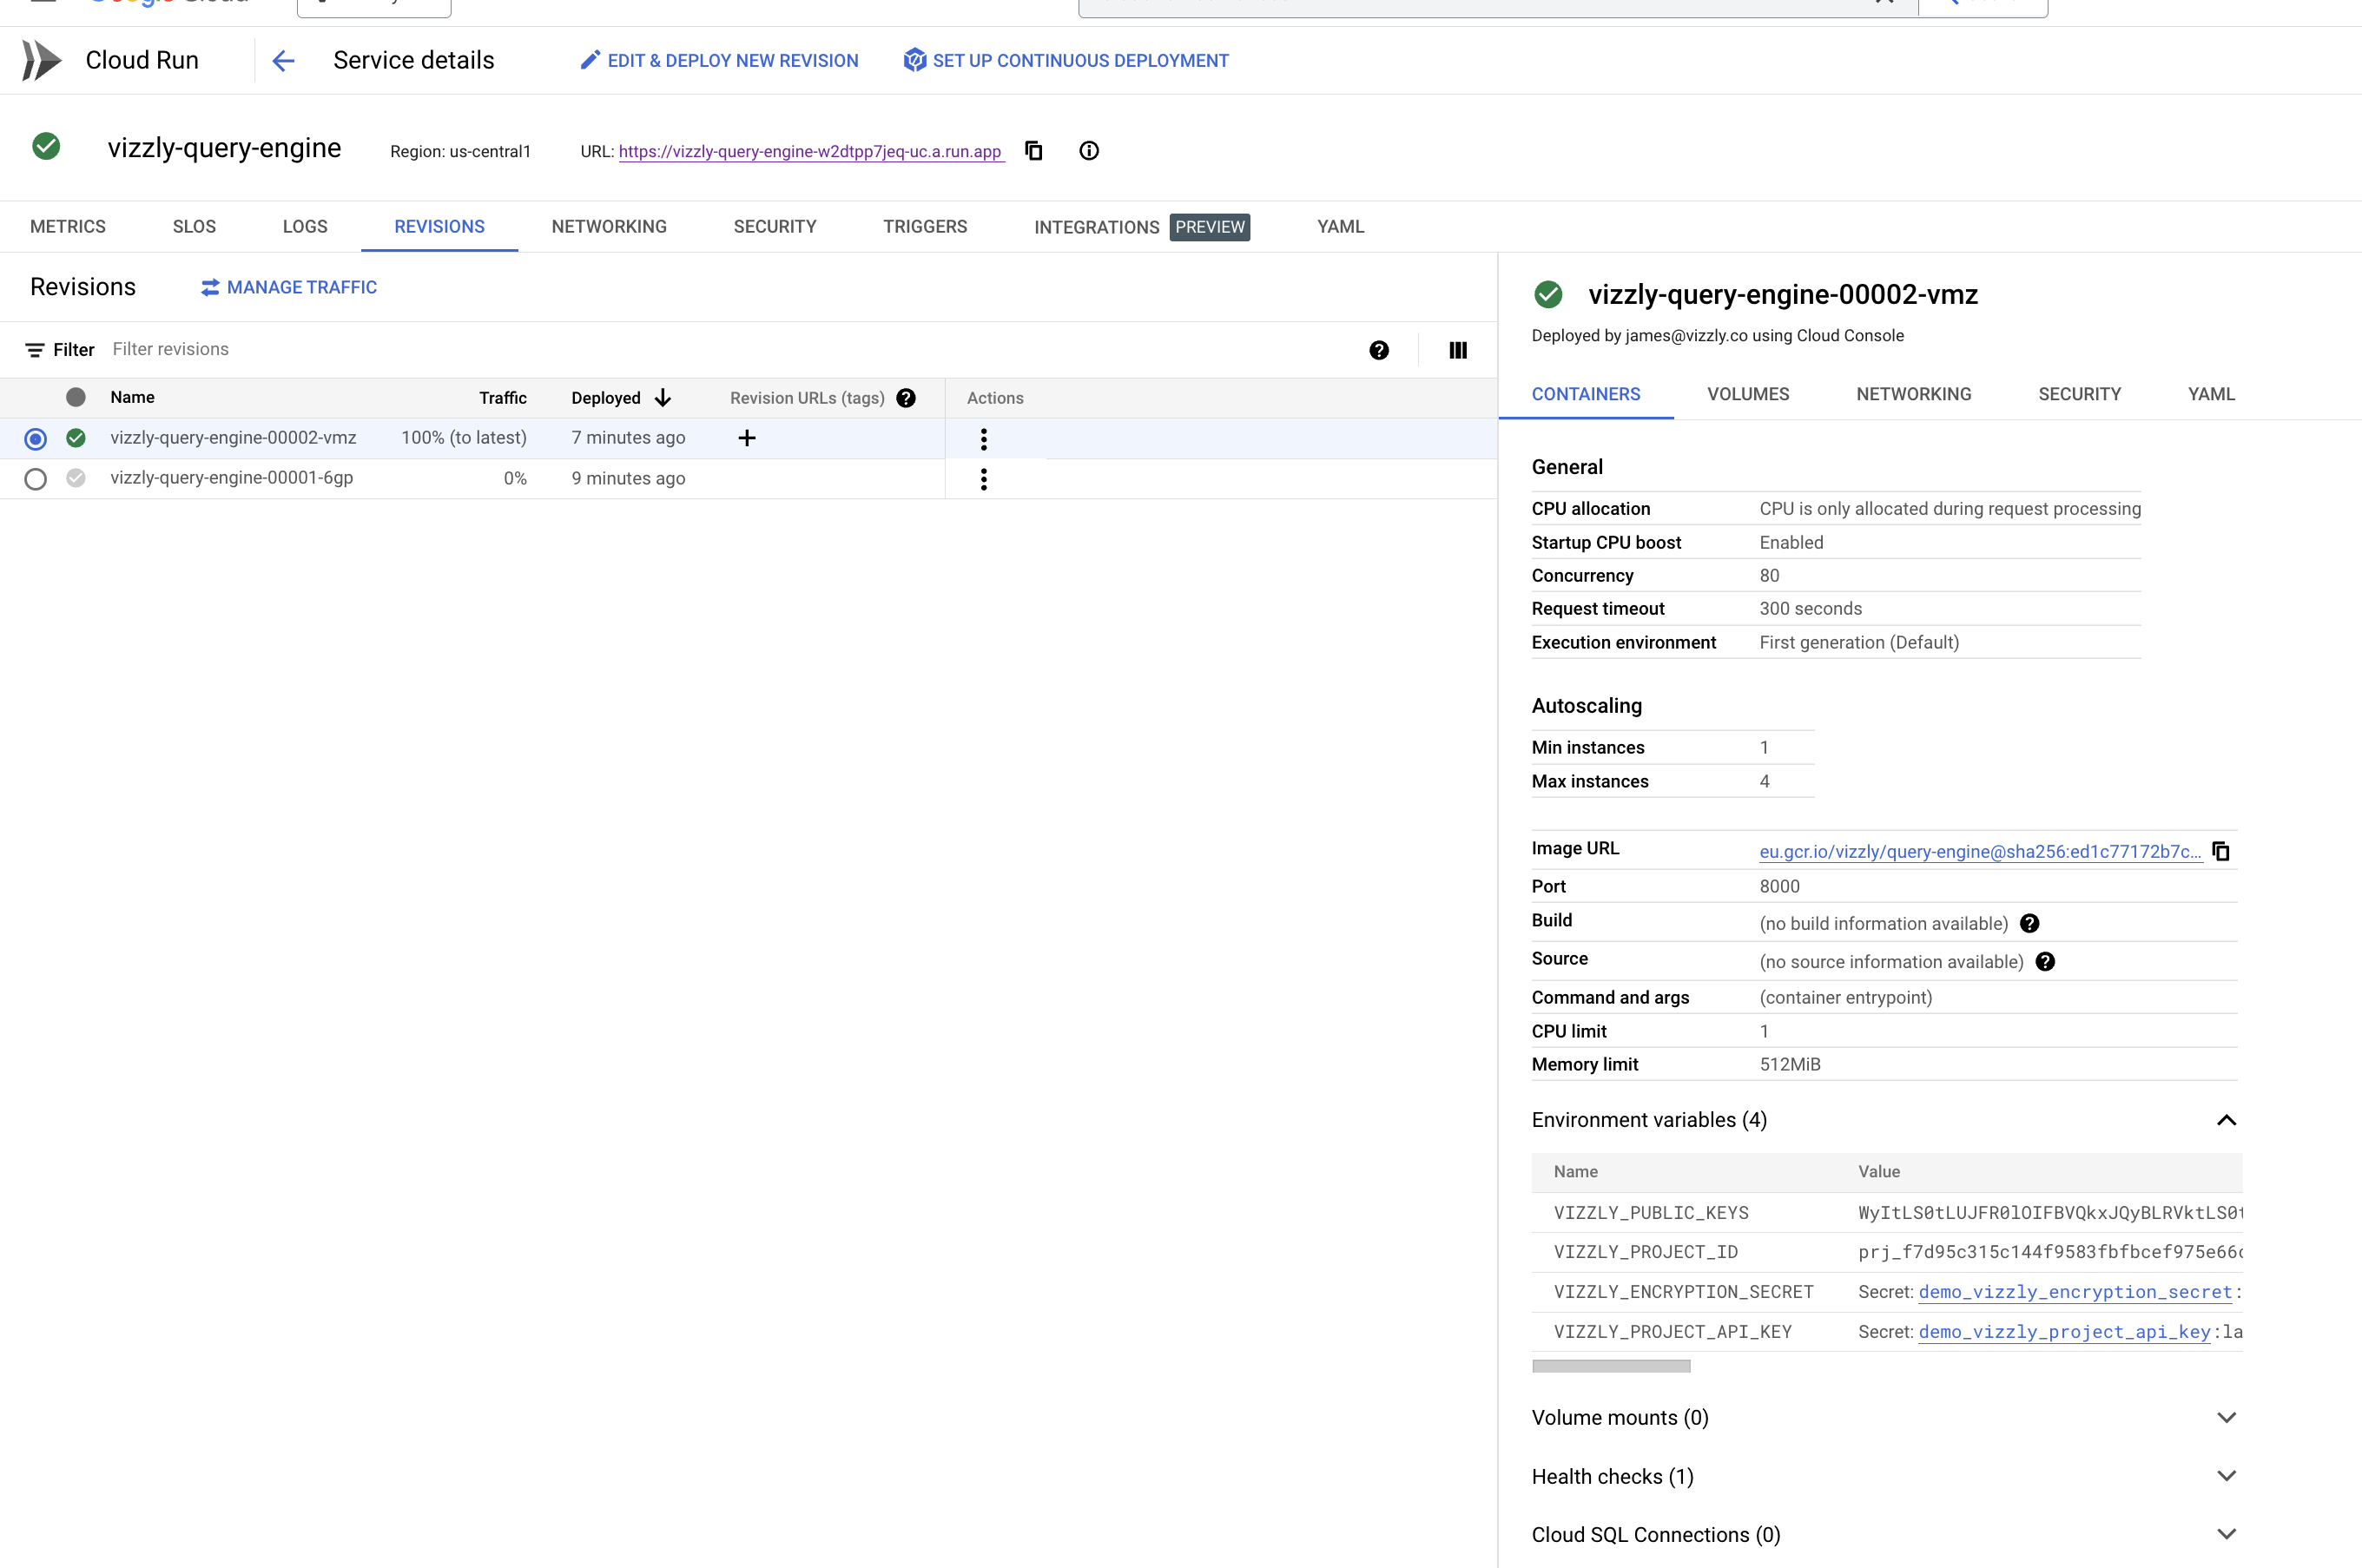
Get started!
Once deployed, you will be able to see the URL where GCP has deployed the Vizzly Query Engine. You can visit the /get-started page and continue the setup there!
For this example, we can see the URL is https://vizzly-query-engine-w2dtpp7jeq-uc.a.run.app.
You will then be able to go through the get started process for the Query Engine, and start building the data sets to make available to your users!